How to Resize Images Online Free (3 Methods + Sizes)
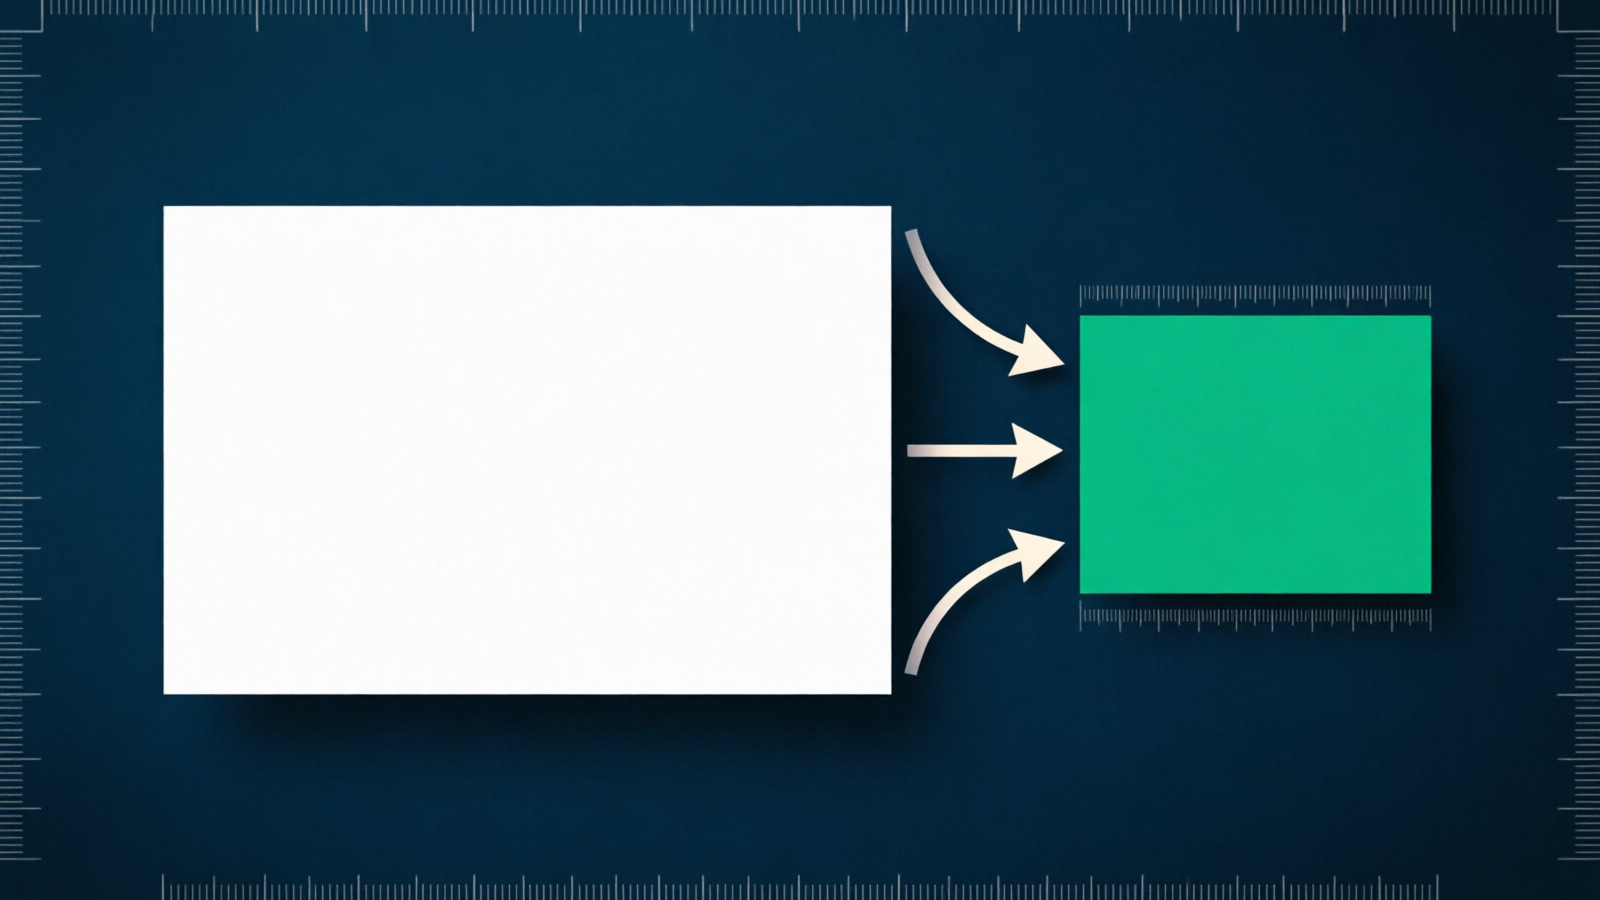
A 4032×3024 photo from your iPhone is too big for almost everything — Instagram caps at 1080, Facebook recommends 1200, Twitter wants 1200×675, and email clients reject attachments over 5 MB. Resizing solves all of it in seconds.
This guide covers 3 ways to resize images online for free, plus the exact pixel sizes for the most common platforms.
When to Resize (vs Compress vs Crop)
These three operations sound similar but do different things:
Resize changes the width and height in pixels. A 4000×3000 image resized to 2000×1500 still looks sharp, just smaller.
Compress keeps dimensions the same but reduces file size by re-encoding. Useful for email attachments and web performance.
Crop removes parts of the image. Cropping is destructive — you lose pixels permanently — but useful for adjusting framing or matching aspect ratio requirements.
Most workflows combine two operations. Resize first to meet the platform’s pixel requirements, then compress if file size still needs to come down.
Resize your image free — no signup, no watermark →
Method 1: How to Resize Images Online (Browser Tools)
Browser tools are the fastest path — no install, no account, no learning curve. The general process is:
- Open the resizer in your browser
- Upload your image — drag the file or click to browse
- Choose resize mode — enter exact dimensions, pick a percentage, or select a preset
- Lock aspect ratio to preserve proportions
- Download the resized image
The whole flow takes 15-30 seconds for one image.
Resizing with NoBG
NoBG’s editor handles resizing alongside background removal and format conversion:
- Go to nobg.app and upload your image
- Click the Resize option in the toolbar
- Enter your target width in pixels — height auto-adjusts to maintain aspect ratio (or uncheck the lock to set both)
- The image resizes in 2-3 seconds
- Download the result
This is particularly useful when you’re also removing backgrounds — you can resize to the platform’s exact dimensions and remove the background in a single workflow. E-commerce sellers especially benefit from this: resize a product photo to 1500×1500 for Amazon, remove the background, and download a single transparent PNG ready to upload.
Try NoBG free — resize, remove backgrounds, and convert formats in one place →
Resizing with Advanced Desktop Tools (Detailed Control)
If you want fine-grained control over resize quality, professional desktop image editors (like Adobe Photoshop, GIMP, or Affinity Photo) are the best options. They use advanced resize algorithms that preserve detail better than simple scaling:
- Go to squoosh.app
- Upload your image
- Click Resize in the right panel
- Enter your target dimensions
- Choose a resize method — Lanczos3 for photos (best quality), Mitchell for graphics, Nearest Neighbor for pixel art
- Preview the result on the left side and download when satisfied
The method selector matters. Default resize algorithms (bilinear, bicubic) work fine for casual use. Lanczos3 produces sharper results for photographs with fine detail (hair, fabric texture, foliage) but is slightly slower.
Method 2: Exact Pixel Sizes for Social Media
Every platform has optimal image dimensions. Posting a 4000×3000 photo to Instagram works, but Instagram compresses it to 1080×810 anyway — you’ve uploaded 12× the data needed.
These are the sizes that look best on each platform as of 2026:
| Format | Size (pixels) | Notes |
|---|---|---|
| Square post | 1080×1080 | Standard feed post |
| Portrait post | 1080×1350 | More screen space, higher engagement |
| Landscape post | 1080×566 | 1.91:1 ratio |
| Story / Reel | 1080×1920 | 9:16 vertical, full-screen |
| Profile photo | 320×320 | Circular crop applied |
| Carousel | 1080×1080 or 1080×1350 | Mix-and-match supported |
| Format | Size (pixels) | Notes |
|---|---|---|
| Feed post | 1200×630 | 1.91:1 ratio |
| Cover photo | 851×315 | Min: 400×150 |
| Profile photo | 170×170 | Square source |
| Story | 1080×1920 | Same as Instagram |
| Event cover | 1920×1005 | 1.91:1 ratio |
Twitter / X
| Format | Size (pixels) | Notes |
|---|---|---|
| In-feed image | 1200×675 | 16:9 ratio |
| Header photo | 1500×500 | 3:1 ratio |
| Profile photo | 400×400 | Circular crop |
| Card image | 800×418 | For link previews |
| Format | Size (pixels) | Notes |
|---|---|---|
| Feed post | 1200×627 | 1.91:1 ratio |
| Cover photo | 1584×396 | 4:1 ratio |
| Profile photo | 400×400 | Circular crop |
| Company logo | 300×300 | Square source |
YouTube
| Format | Size (pixels) | Notes |
|---|---|---|
| Thumbnail | 1280×720 | 16:9, min 640 wide |
| Channel banner | 2560×1440 | Safe zone: 1546×423 center |
| Profile photo | 800×800 | Circular crop |
Pro tip: When the platform requires a specific aspect ratio but not exact pixels, resize to a size where the aspect ratio matches and resolution is high. For a 16:9 Instagram landscape post, 1080×566 works, but 1620×911 also works and looks slightly sharper on retina displays.
Method 3: Resizing for Email and Web
Email clients and websites care about file size more than pixel dimensions. Here’s how to size for both:
Email Attachments
Most email services cap attachments at 10-25 MB total per message. A single unresized photo can eat that budget:
- Gmail: 25 MB total per email
- Outlook: 20 MB (web), 10 MB (Exchange)
- Yahoo Mail: 25 MB
- iCloud Mail: 20 MB
For email photos, resize to 1600×1200 or smaller (about 1-2 MB) for sharing without overwhelming the recipient’s inbox. The original full-resolution version stays on your computer.
For inline images (photos embedded in the email body), go smaller — 600×450 keeps the message under 1 MB total and loads quickly on mobile.
Website Hero Images
For hero images on websites, the standard approach:
- Desktop: 1920px wide (or larger for retina displays)
- Tablet: 1024px wide
- Mobile: 640px wide
Most modern websites use responsive image techniques (srcset in HTML) to serve the right size to each device. If you’re building a site without responsive images, go with 1920px wide as a single solution — it’ll look sharp on all devices, just slightly heavier on data usage for mobile.
Product Photos
E-commerce platforms have specific requirements:
- Amazon: Min 1000×1000, recommend 2000×2000 (enables zoom feature)
- Etsy: 2700×2025 recommended for zoom
- eBay: 1600×1600 recommended for high-quality listings
For all product photos, 2000×2000 (or 2000×higher for landscape) is the sweet spot — high enough for zoom features, low enough to load fast.
How to Preserve Aspect Ratio When Resizing
Aspect ratio is the proportional relationship between width and height. A 4000×3000 image has a 4:3 aspect ratio. If you resize to 2000×1500, the ratio stays 4:3 and the image looks correct. If you resize to 2000×1000, the ratio changes to 2:1 and the image looks stretched or squished.
To preserve aspect ratio:
- Lock the aspect ratio setting in your resizer (most have a chain-link icon)
- Enter only one dimension (usually width) and let the tool calculate the other
- Verify the preview before downloading — stretched images are obvious
If you need a different aspect ratio (turning a landscape photo into a square Instagram post), you’ll need to crop instead of resize. The tool will let you select which part of the image to keep after cropping.
Common Resize Mistakes to Avoid
Upscaling Beyond Original Size
Resizing a 500×500 image to 2000×2000 doesn’t add detail — it stretches existing pixels. The result looks blurry and pixelated. If you need a higher-resolution version, start from the original file (RAW, full-resolution JPG) or use AI upscaling tools that intelligently generate detail.
Ignoring DPI (DPI Doesn’t Matter for Web)
DPI (dots per inch) is a print concept. For web display, only pixel dimensions matter. A 1000×1000 image at 72 DPI looks identical to the same image at 300 DPI on a screen. Don’t resize based on DPI — resize based on the platform’s pixel requirements.
Forgetting to Lock Aspect Ratio
Forgetting to lock aspect ratio is the most common resize mistake. The result is a stretched or squished image — subjects look unnaturally wide or tall. Always verify the preview, especially when resizing for specific aspect ratio requirements (16:9, 4:3, 1:1).
Resizing to Slightly Smaller (Not Worth It)
Resizing 4000×3000 to 3999×2999 wastes time. The size difference is invisible and the file size barely changes. Resize in meaningful increments — usually 50% reductions or to specific platform sizes.
Saving at Wrong Quality
After resizing, save at the right quality setting:
- JPG: 80% quality is the sweet spot (file size 60-80% smaller than 100%, no visible loss)
- PNG: Always lossless (PNG doesn’t have a quality slider that’s worth using)
- WebP: 75% quality matches JPG 85% visual quality at smaller file size
Resizing for Print (Different Rules)
For physical print, the math is different:
- Standard photo prints: 300 DPI at the desired print size — 4×6 print = 1200×1800 pixels
- Large prints: 150-200 DPI is acceptable at viewing distance
- Posters: 72-100 DPI works when viewers stand several feet away
You’re usually upscaling from screen-resolution files for print. Web resizing tools don’t work well for this because they’re optimized for screen display, not print DPI.
Batch Resizing for Bulk Operations
If you need to resize dozens or hundreds of images, single-image tools are too slow. Here are the efficient options:
NoBG Paid Plans
For e-commerce sellers processing product catalogs, NoBG’s paid plans handle batch resizing with the same background removal workflow:
- Free tier: 1 image at a time
- Pro plan at $24.90/month: 500 images/month with batch processing
- Business plan at $59.90/month: 2,000 images/month
Check NoBG’s pricing page for full plan comparison and high-volume options.
Free Desktop Tools (Bulk)
IrfanView (Windows — Free): Decades-old image viewer with batch resize. Open the Batch Conversion dialog, select files, choose output size and format, and process hundreds of images at once. Free for personal use.
ImageMagick (Cross-platform — Free): Command-line tool. magick mogrify -resize 1200x1200 *.jpg resizes every JPG in the current directory to 1200×1200. Powerful once you learn the syntax.
For occasional bulk work, online tools are fine. For daily bulk operations (catalog management, real estate photography, marketing teams), dedicated tools are faster.
Start resizing free — single images now, batch available on paid plans →
Common questions
How do I resize an image without losing quality?
Resizing to smaller dimensions always reduces detail slightly, but the loss isn’t visible at standard viewing sizes if you use a good algorithm (Lanczos3 for photos, bicubic for graphics). Resizing to larger dimensions always loses quality because new pixels are invented. Always resize down, never up.
What size should I make a photo for a website?
For hero images, 1920px wide works for desktop. For thumbnails, 400-600px wide is sufficient. For product photos on e-commerce sites, 2000×2000 is the sweet spot. Use responsive image techniques (srcset) when possible to serve different sizes to different devices.
Can I resize images on my phone for free?
Yes. iPhone’s Photos app has a built-in resize option: select the photo, tap the share button, choose “Save as Image” or use the Markup tool to crop and resize. Android phones with Google Photos have similar features. For more control, free apps like Image Size (iOS) or Photo Resizer (Android) handle bulk operations.
How do I resize without stretching?
Lock the aspect ratio setting before resizing. Enter only one dimension (width or height) and let the tool calculate the other automatically. If you need a specific aspect ratio that differs from the original, crop first to get the right ratio, then resize to the target dimensions.
Is there a free batch image resizer?
Yes. Several online tools handle batch resizing — upload multiple files, set the dimensions, and download a zip file. For larger batches (50+ images), desktop tools like IrfanView (Windows) or ImageMagick (cross-platform) are faster and don’t require uploading files to a server.
What’s the difference between resize and cropping?
Resize changes the width and height proportionally (keeps the same aspect ratio). Crop removes parts of the image to fit a specific aspect ratio or composition. Resize keeps everything smaller; crop discards pixels. For social media, you often crop first to match the platform’s aspect ratio, then resize to the target pixel dimensions.
Image resizing is one of those tasks you’ll do hundreds of times if you publish anything online. The tools are free, the process takes seconds, and the right pixel dimensions make your content look professional on every platform. Bookmark this guide’s size tables for the next time you need to post.